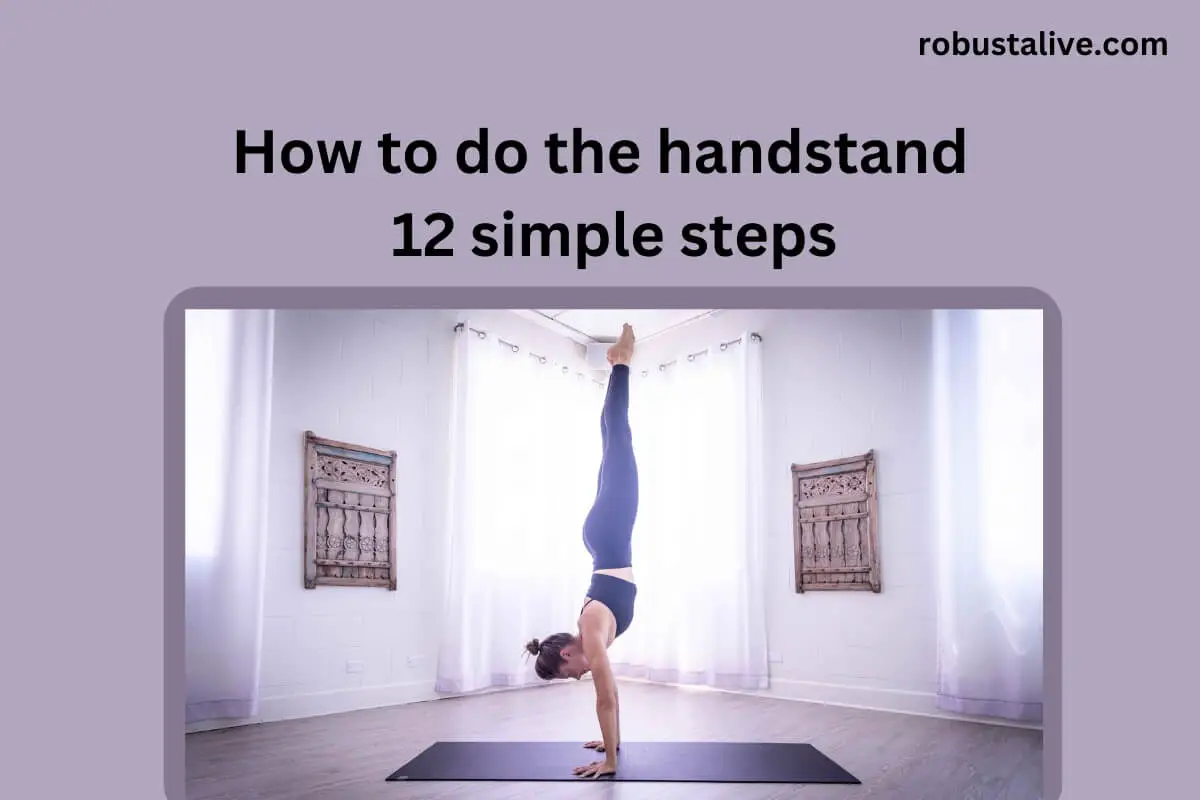
How to Do The Handstand – 12 Simple Steps
If you are trying to learn how to do the handstand as a beginner, you must have watched a lot of tutorials and videos. You can search the videos by typing the titles like “How to do the handstand.”But unfortunately, most of us take it easy and think we have already gone through most of the steps while we haven’t.
Many people think the wall support handstand is the first step in learning, but it isn’t. There are some building blocks to start doing a handstand. It includes building strength, overcoming the fear of falling, overall body stability, and developing awareness of your legs, pelvis, spine, and body.
Anyone can learn how to do the handstand, but some people may take a little longer than others. Remember that when you are learning the handstand, it is not the start of the process. You must prepare your body first to learn how to do the handstand. You will often fall during this journey, but that’s how you know.
Handstand warm-up exercises
Before starting the handstand practice, you first need to do a few warm-up exercises:
- Do back and forward wrist stretching
- Do backhand palm stretch
- Lifted palms, wrist stretching
- Reverse palm stretching
- Upside-down wrist stretch
While stretching your wrist, the main trick is to move your wrist in as many directions as possible. Feel free to warm them up on your own. Our shoulders are the second stressed spot on the handstand. There are different ways to prepare them before starting the practice.
- Do a few jumping jacks around.
- Arm circles
It will help in preparing the area and will improve blood circulation. After the warm-up, we will start progressing toward learning how to do the headstand.
12 Steps to do the handstand for a beginner
Graphics Credit: Robustalive.com
From this point, we will start our journey to the handstand. It begins by working with the positional and balance drills. Nothing is too scary; while you may think some steps are way more manageable. That is fine!
We use small victories as motivation. Landing on the head could be a better way to do the handstand.
1. Find a good spot to start
You will need a place with slightly padded ground as there are many chances you will fall on the initial tries. With time you will be able to stand on your hand correctly; if you have a yard, practice it here as you will have a lot of open space to practice, and the grass will work as a cushion. It will help you in a safe landing and ensure you don’t fall on someone or something that can hurt you.
- I prefer a flat area rather than a hilly or rocky one. The hand becomes easier when you are on a flat surface.
- Some other great handstand spots are the gym mats in a gym, beach sand, or the carpeted room of your house.
2. Stretch your joints and limbs
It’s vital to first warm up your body before starting your handstand practice. It will make your muscle lose and nice and your body limber. Warm-up also reduces the chances of your fall and injury. Before executing the handstand, follow the following steps:
- Roll your ankles, neck, and wrist to make them loose and nice.
- Close your feet and bend down to touch them. Keep your legs straight and hold up for 30 seconds; stand up and separate legs with a foot distance apart and repeat the stretch.
- Take a quick jog around your block to lose the stiff muscles. You don’t need to run far; go till you feel warmed up and active for a physical challenge.
3. Grab a spotter
When it’s your first time doing a handstand, make sure you have someone nearby who can help you support you when you fall. It enables you to get back to the balance position without getting hurt. Ask the supporter to stand before your legs and hold them straight.
- Once you start getting a hold of your position, ask the spotter not to catch you unless you begin to topple over.
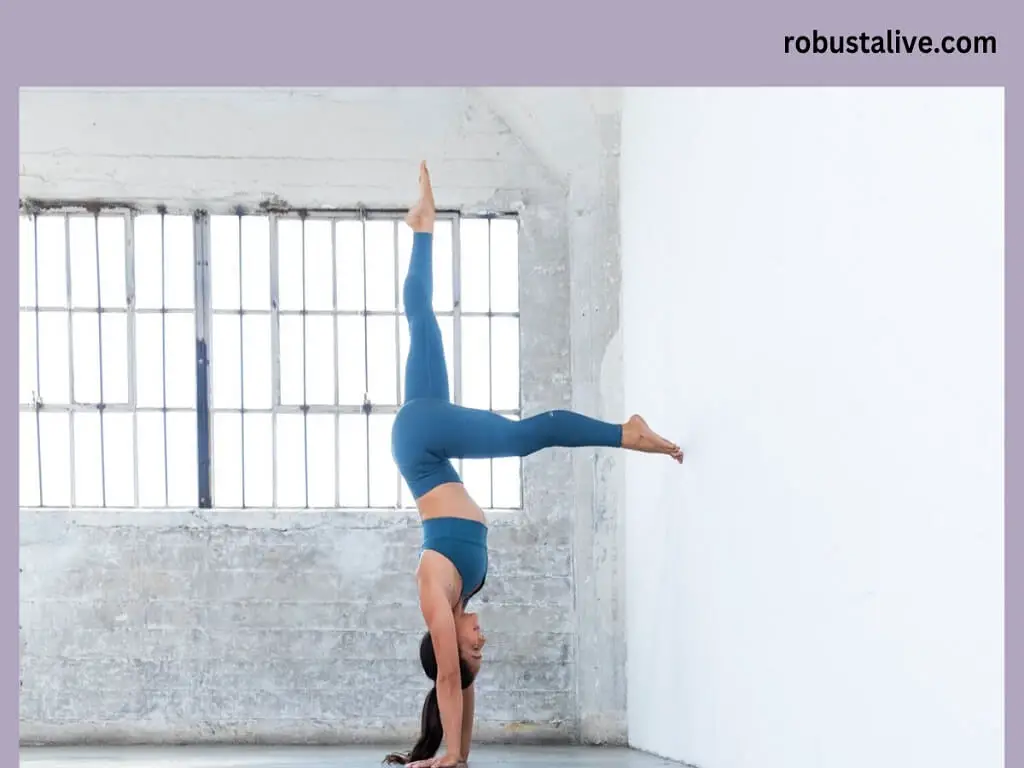
- Having a spotter isn’t necessary; you can do it yourself by starting it against a wall.
4. Stand straight in a comfortable position.
It’s your starting position. Your head, feet, knees, and torso should all be aligned comfortably. Hold your arms comfortably on your side.
- Some people prefer starting with their arms above the head. You can begin both ways and choose the starting position you find most comfortable.
5. Kick with your dominant leg
Keep your legs straight so you don’t fall into a lunge while kicking. Please don’t make it too deep, but it should be powerful enough to kick up your leg. Make sure to kick up and lunge straight and not to the side.
Stepping to the side can twist your body, and it will become much harder to balance when you go into the headstand position.
6. Slope your body a little forward
Falling into the lunge will make it difficult for you to approach the ground and can hurt your back. Straight your legs as your hands start meeting the ground. Hold your arms straight and move your head towards the ground.
Move naturally but with a little force in a natural and forward motion over the legs. It will allow the headstand to, and gravity will help rather than control it.
- The most general mistake is instantly throwing your hands on the ground and pushing your legs upward. It also results in a whipping motion and makes you fall forward.
7. Keep your arms straight while approaching the ground
Take yourself as a T; Put your base leg behind the vertical part and arms and dominant legs behind the horizontal part. Keep yourself in the T position until your base legs leave the ground. Your shoulder should be tight in your neck even though you are shrugging. Don’t let your shoulders or elbows bend, putting you at a higher risk of injury.
8. Straight your legs and torso upward.
The act of tipping over, stepping forward, striking the ground with the hands, and lifting the legs in a smooth motion that ends in a handstand.
- Keep your head tucked as you stand up, and keep your legs and back straight. Please don’t put your head back, as it can only hurt your back and neck. It will not look good, well.
- Keep your legs tight and straight, and firmly press them together to help you from avoiding a fall.
9. Balance your weight on the hands
Balance your weight between your palms and your knuckles. Adjust the hands to balance your weight by moving it towards the fingers. You may lose your balance if you move the tension toward the wrist.
10. Come down when you’re ready
When you think you are ready to come down, split your leg and drop the dominant one to the ground. Start to stand up and slowly put the second leg on the floor.
- Keep your arms by the ears.
- Keep your chest straight while you are standing up.
11. End the Handstand
End your handstand in a way that your arms are near the ear.
Let your arms fall farther away from the head by turning the palms position outwards.
12. Kick up a handstand
While falling backward, make sure your weight is on the shoulders. To start, it bends your arms so that you can tuck them into a roll. Try doing it with straight arms when you start getting better at it. It’s the ideal way to do it. Instead of hardening your muscle, teach your body the shock-absorbing technique.
Never put weight on one ankle or one arm. In addition, before rolling out, ensure your head is tucked into the chest. It will avoid the fall on the head.
- If you have a flexible body, you can fall without hurting your body by producing the arch, crab back, or a bridge.
How to do the handstand – Complete beginners
Here are a few tips that can help a beginner to learn how to do the handstand the easy way:
Fall from a handstand
Falling from a handstand is a skill that you get with daily practice. The technique that I prefer using is the wheel out. You have to keep one hand on the ground and lift the other to do it. By turning your body, your foot will fall on the floor.
To practice, this technique starts with the ground and slowly goes further up on the wall. So when you feel comfortable, do the wheel from the all-assisted handstand.
Develop strength
Start in a pushup position and start walking up the wall with the help of your feet. With your hands and feet, go up the wall as much as you feel comfortable. Once you have walked up the wall, move your hands close.
Walk down the wall. It’s the first rep. Even taking one step at a time is enough in the initial stage. But continue challenging yourself. Walk as far as you feel comfortable in it and improve a little the next day.
Develop awareness
If you are first time practicing the handstand, then start it near the wall. Create a triangle between your head and hands. Tuck the knees and walk them up from the head to the chest. Do it till your feet leave the ground. As you walk the knees to the chest, move the hip over the head. And boom, you got it.
Challenge yourself
01: Doing a hand split is an elegant way to end the handstand. Instead of landing with a regular rollout, you can move into the splits on the ground.
02: Once you have mastered the handstand, you will feel confident in your balancing technique. With time try walking around. Do it often to make your muscles strong.
03: Do handstand pushups after the muscles start bulking up a bit. You can do it by pushing your hands from the ground. Hold the handstand position in which your feet are against the wall for some support. To improve such pushups, try practicing with dumbbell overhead presses.
04: If you are trying to become an aspiring gymnast, do a front limber. It’s the next step once you have gotten the hang of standing on your hands.
Tips to improve the handstand
That’s a lot of vital information that will help you to learn how to do the handstand. If you plan to do it in the future, then bookmarking this page will help you as we update every article.
It’s no doubt hard training to maintain a solid handstand. Practice is the only key to achieving a perfect handstand. Falling in the initial stage is expected, so instead of letting it demotivate, you do it in a place with a soft floor, like grass or carpet.
Conclusion
Some people may think that they can’t do a perfect handstand. But believe me, it’s an achievable goal. The only thing is that some people may take longer than others. You need a positive mindset and attitude to do it. It will only take a few weeks of dedication to achieve it, but the benefits will be unlimited.
You need to learn a proper balancing technique to do a perfect handstand. The handstand pose improves your breathing pattern, forces you to the moment, and clears your head.
FAQ’s
How do you train yourself to a handstand?
- Firstly practice the wall walks and bails with full strength and proper safety measures.
- Then train the entry for balance while working on the strength. Also, practice the wall hold and kick-ups.
- In the final step, work on the body’s endurance to make a freestanding headstand. Practice the freestanding hold, wall hold, and kick-ups.
What’s the easiest way to do a handstand?
Wall walking is the easiest and most efficient way of building handstand strength. Walk as far as you are comfortable and then push yourself further with some training. Every time you do the drill, do as many handstands as possible and go on the wall as far as possible.
Who shouldn’t do the handstand?
The handstand reverses the blood flow in the body. Therefore, people with high blood pressure issues, spinal injuries, and brain injuries should avoid trying any inverted posture like a handstand, headstand, or shoulder stand.
Can I learn to handstand in 30 days?
Yes, it’s normal to learn a handstand in a month. Some people who are focused can also retain it in a few weeks. You have to develop a positive attitude and the right amount of determination to do the handstand.
Are handstands healthy?
The handstand helps with breathing, circulation, and bone health. It’s a weight-bearing exercise that lowers the chances of osteoporosis by strengthening your bones. Handstands are beneficial for the spine and help with the bone health of the arm, shoulders, and wrist.
References
https://www.wikihow.com/Do-a-Handstand
https://www.outsideonline.com/health/training-performance/how-to-do-handstand/
https://greatist.com/fitness/how-to-do-a-handstand
https://www.womenshealthmag.com/fitness/a19918535/how-to-do-a-handstand/
https://www.mindbodygreen.com/articles/handstand-benefits